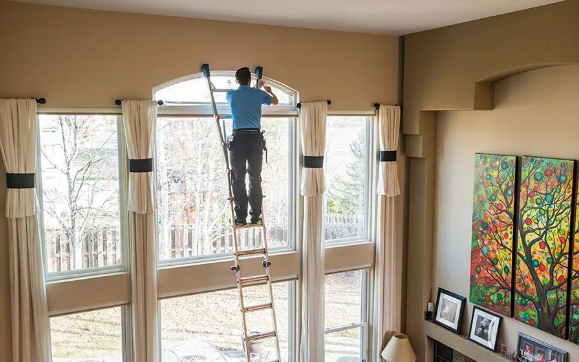
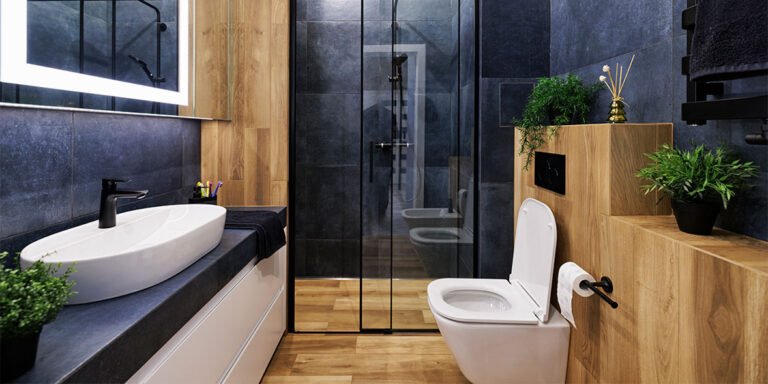
If you are looking to enhance the privacy of your living space without compromising on natural light, window film for home privacy may be your best solution. This cost-effective and efficient method not only gives you the seclusion you need but also adds a touch of elegance to your windows. This DIY guide will take you step by step through the installation process, ensuring you achieve professional-looking results without needing to hire a specialist.
What You Will Need
- Privacy window film
- Spray bottle filled with soapy water
- Squeegee or a flat edge tool
- Utility knife
- Ruler or measuring tape
- Lint-free cloth
- Marker or pencil
- Old credit card or plastic smoothing tool
Preparation
Before starting the installation process, thoroughly clean your windows. Use a high-quality window cleaner to remove any dirt, grime or grease that might affect the adhesion of the film. Dry the glass with a lint-free cloth to ensure no fibres or debris are left behind.
Measuring and Cutting the Film
Measure the window dimensions carefully, considering both the height and width. Roll out the window film on a flat surface, and use your ruler and marker to outline the exact measurements. It’s best to cut the film slightly larger than the window area to allow for final adjustments. Using a utility knife, carefully cut along the lines you’ve marked.
Applying the Film
Fill a spray bottle with a mixture of water and a few drops of dish soap. Lightly spray the window pane to dampen it, which will help in repositioning the film during application. Remove the backing from the window film, exposing the adhesive side.
Position the film on the window and smooth it out gently, starting from the top and working your way down. Use the squeegee or an old credit card to remove air bubbles and excess water, working from the centre towards the edges. This step is crucial for ensuring a smooth finish.
Trimming and Finishing
Once the film is securely in place and all air bubbles have been removed, use a utility knife to trim any excess material from the edges. Be sure to maintain a steady hand to avoid jagged cuts. Continue smoothing out any remaining water or bubbles, ensuring a tight seal.
Final Inspection
Inspect the installation for any blemishes or bubbles that might have been overlooked. If you find any, use the squeegee or a flat edge tool to smooth them out. Allow the film to set and cure according to the manufacturer’s instructions, typically around 24 to 48 hours.
Maintenance Tips
Proper maintenance will prolong the life of your window film. Clean the film surface with a soft cloth and mild soapy water, avoiding abrasive cleaners or rough sponges that could damage the film. Regular cleaning will keep your windows looking elegant and your privacy intact.
Benefits of Installing Privacy Window Film
Besides enhancing privacy, window films come with several other benefits:
- Reduction of glare and UV rays, protecting your furniture from fading.
- Added security as the film can help hold shattered glass together.
- Energy efficiency by helping to regulate indoor temperature.
- Improved aesthetics with various designs and styles available.
Conclusion
Installing window film for privacy in your home is a rewarding DIY project that delivers immediate results. Not only does it provide the solitude you need, but it also offers multiple additional benefits. By following this guide, you can achieve a flawless installation that enhances both the functionality and the visual appeal of your windows.


